This DIY project is brought to you by Lil Lyle, our current small house flip we are working on. You can check out all of the videos we’ve done so far on Li’l Lyle here. When remodeling a smaller house, you can add a lot more little extra details that can make a big difference. I asked Sonny, my honey to make me some cute chevron window shutters for the front of the house to really set it apart and attract attention. By making our own shutters, we not only added some amazing curb appeal but also saved well over 50% of the cost of store-bought shutters.
Quick Reminder: The difference between a Chevron pattern and Herringbone (I LOVE both) is that the Chevron simply makes a solid “V” shape and the Herringbone crisscrosses to make a zig-zag pattern. You can see instructions for how to make a herringbone patterned table Stanley recently made for this same flip.
Materials
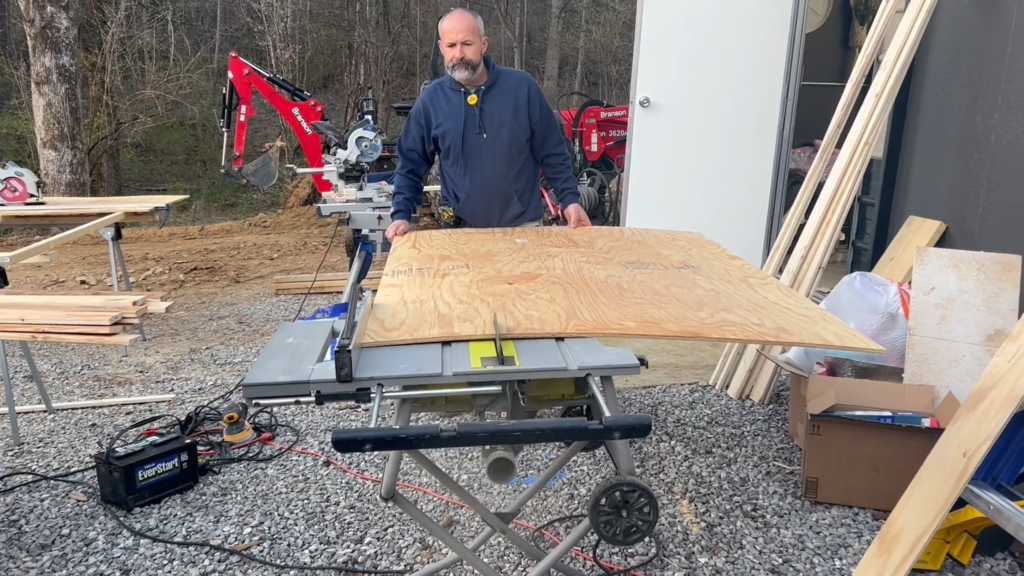
- 1 4×9 1/2″ Sheet of Plywood
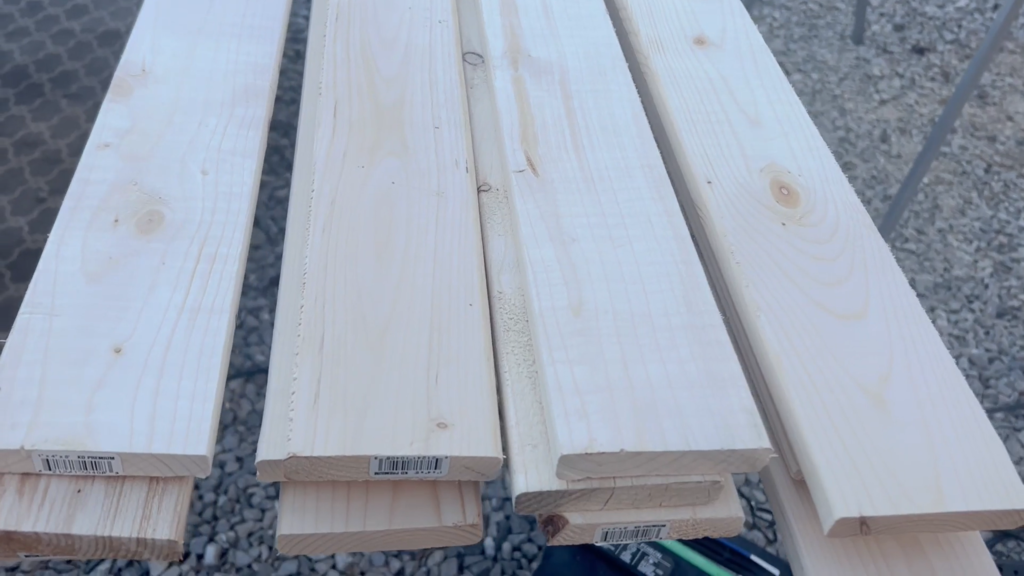
- 12 1x4x8 Furring Strips
- 8 1x2x8 Furring Strips
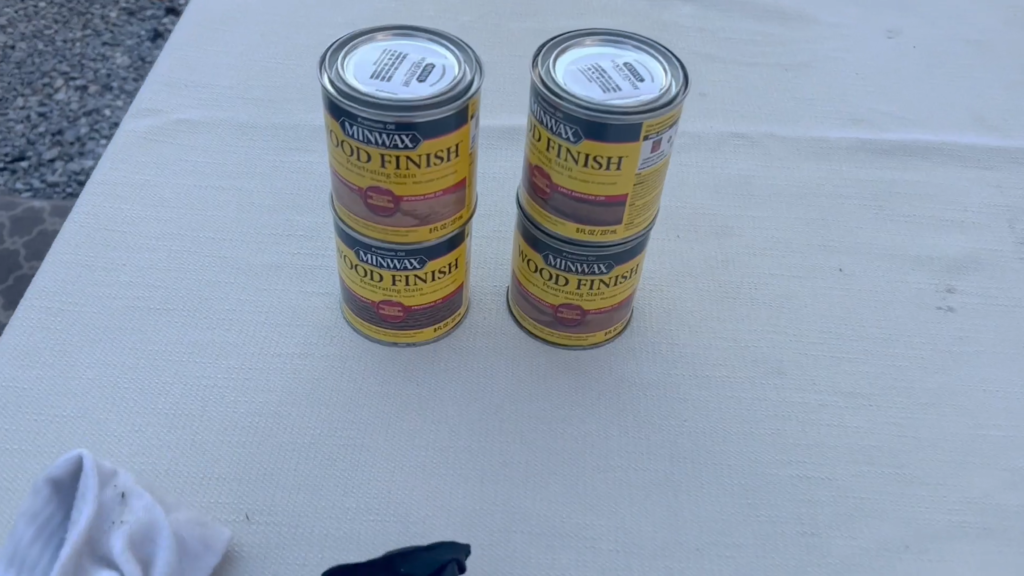
- Stain (4 colors for a unique pattern)
- Wood Glue (Be sure you get glue designed for outdoor use! It will be water resistant.)
- 1″ Staples
- 3″ Screws
Tools
- Circular Saw
- Miter Saw
- Saw Horses
- Saw Guide
- Tape Measure
- Speed Square
- Stapel Gun
- Electric Screw Driver
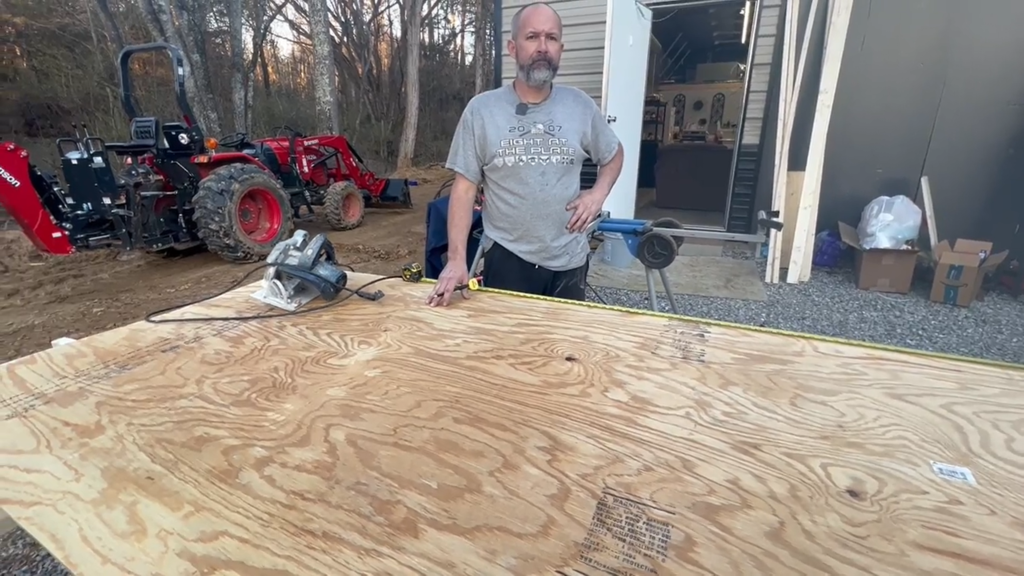
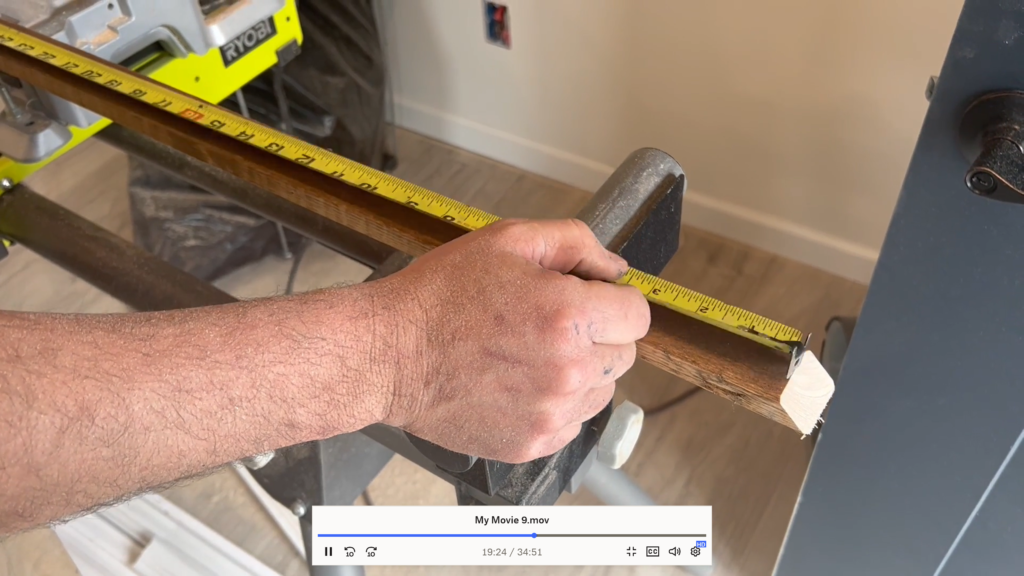
Step 1: Measure and Plan
Measure your windows to see how much wood you will need and the dimensions that you will need to cut your wood. You need to measure out a piece of plywood for your shutter backs and furring strips for the pattern as well as the trim. You’ll also want to plan out your design and stain color(s). I went with a large chevron pattern (so a center line with angled wood on either side), and I chose four different colors to add some variety to the design. The stain colors I went with are Ipswitch, Provincial, Early American, and Fruit Wood.
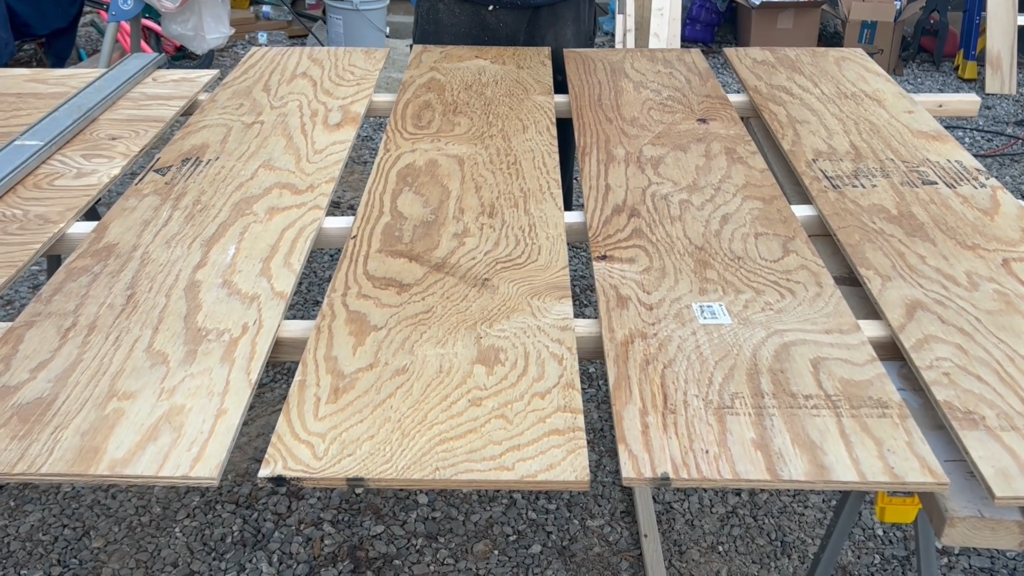
Pro Tip: The beauty of a custom build is that you can choose your size. I saved money on the plyboard by making our shutters slightly more narrow than the standard shutter size. This allowed me to get 4 panels out of one sheet. This also works well since the home we are working on is small.
Step 2: Stain and Cut
You’ll want to stain all your furring strips before cutting. I left one board unstained so that there were five colors in the pattern. Choose one color for the thinner strips because these will act as a frame around each shutter. You want to be sure that these match.
When making your cuts, remember, the plywood should be cut to the full size you want each shutter to be. Double-check these final cut boards so you can make accurate measurements and cuts for the trim that will surround the shutters. (You will wait to trim out your frame after you’ve done the full chevron pattern and trimmed off the excess wood.)
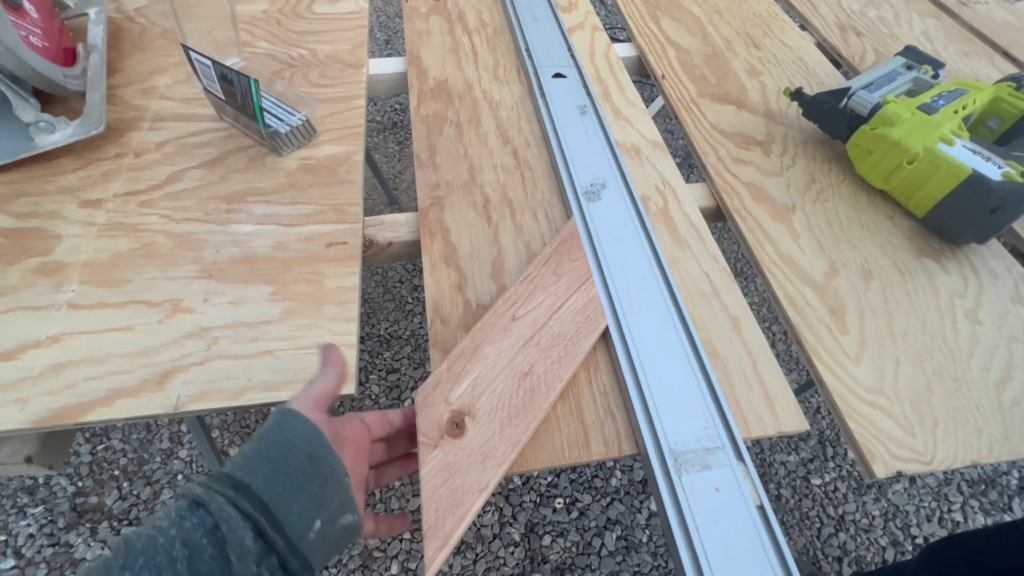
Once you’ve cut your individual shutter backs, mark your center line for each shutter to know the measurements for cutting the angled boards for your chevron pattern. Be sure that you leave extra space on each pattern board to hang off the edge slightly so that you can trim the whole thing down evenly at the end. You will cut each pattern piece at a 45-degree angle on both ends. If you’ve only stained one side of the wood, you’ll need to be sure to reverse the angle for the opposite side of the shutter because you won’t be able to simply flip the board upside down. Once one is complete, use it as your pattern for the following cuts.
Pro Tip: Clamp down your saw guide along your center measurement to place your pattern down. Once you have one side completed, switch the guide to the other side of the center line and repeat the process.
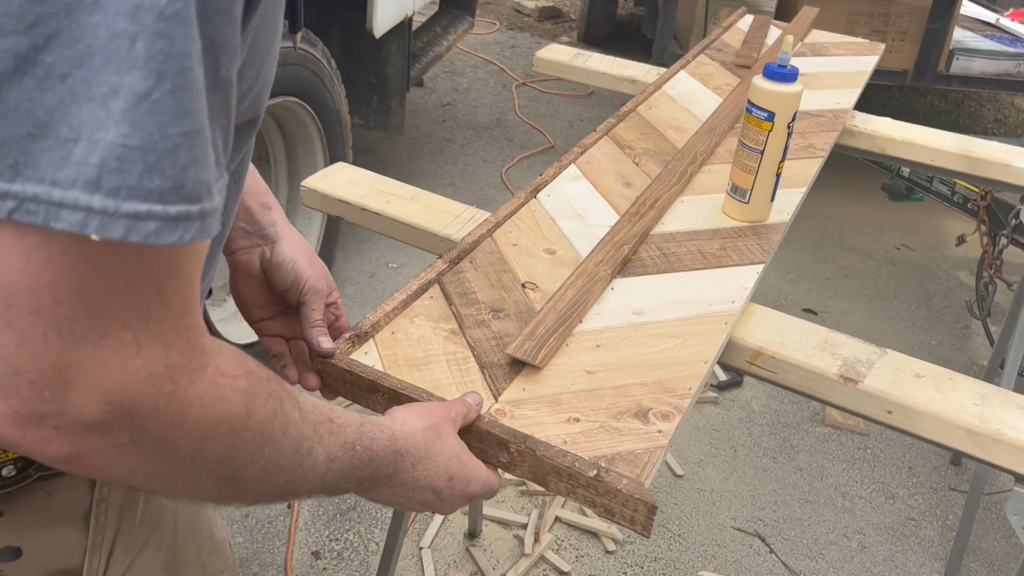
Step 3: Create and Attach Your Chevron Pattern
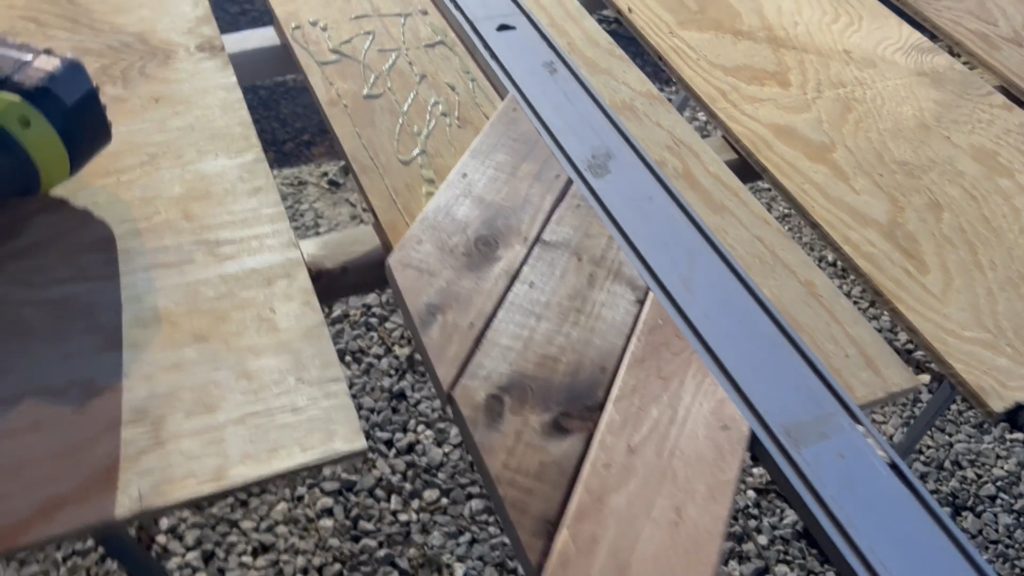
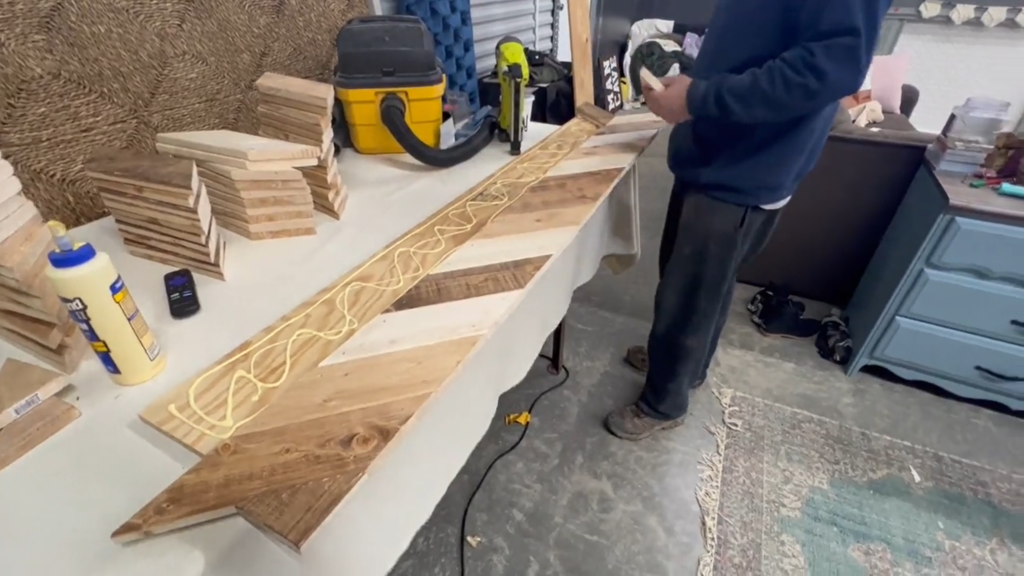
Be sure to lay out your entire pattern before gluing anything down! You don’t want to discover too late that your pattern is off when it is too late to fix. Use wood glue to put down your stained, patterned pieces. Next, use a staple gun to staple the edges down firmly. Again, it’s always best to do one full side at a time.

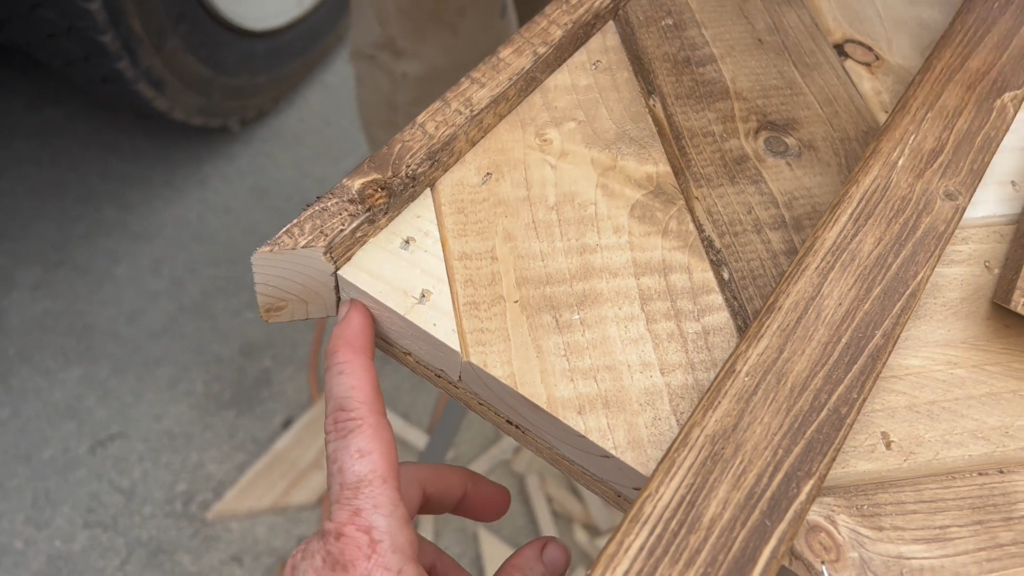
Step 4: Cut and Attach Your Trim
You’ll want to wait to cut out your final trim strips so that you can measure the completed shutter with the pattern. Just remember that this part is similar to a picture frame. Each end will be cut at a 45-degree angle so that fits flush to the adjoining sides with no gaps. You’ll want to match the measurements of the short side of each angle to the strip it will be joined to.
Glue your strips into place one side at a time ensuring that the strip is centered properly. Once you have two edges in place, you can attach them firmly with the staple gun.
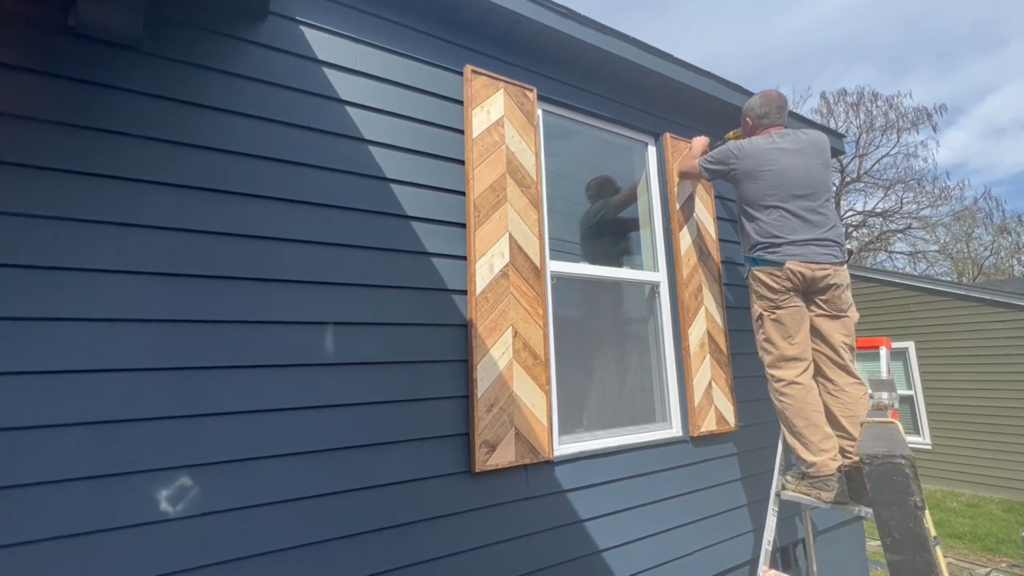
Step 5: Install Your Shutters
The last step is to simply screw your shutters into the siding. As always, be sure that you are lined up correctly before attaching. Then, enjoy!
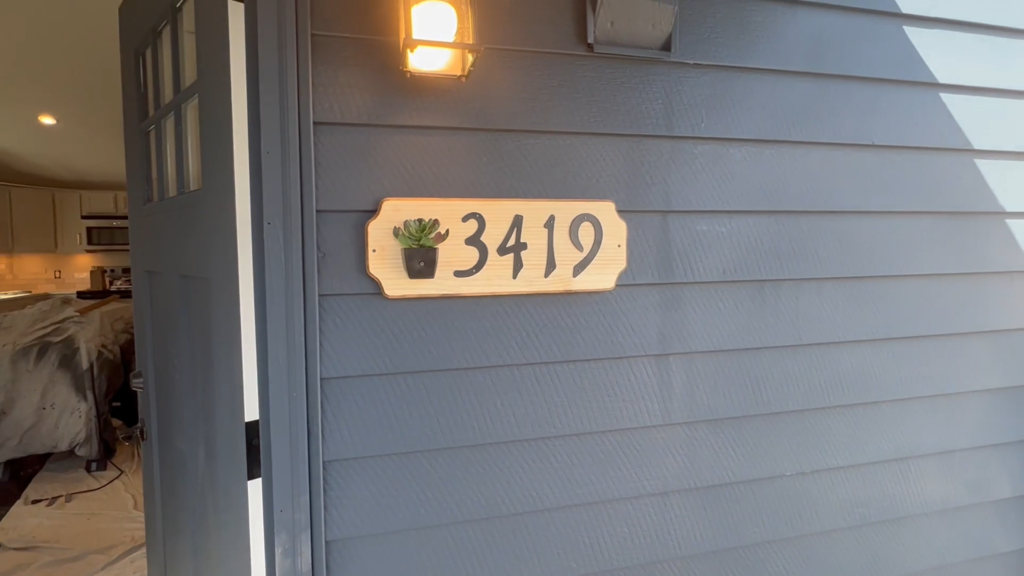
Watch the full video for a bonus project at the end.