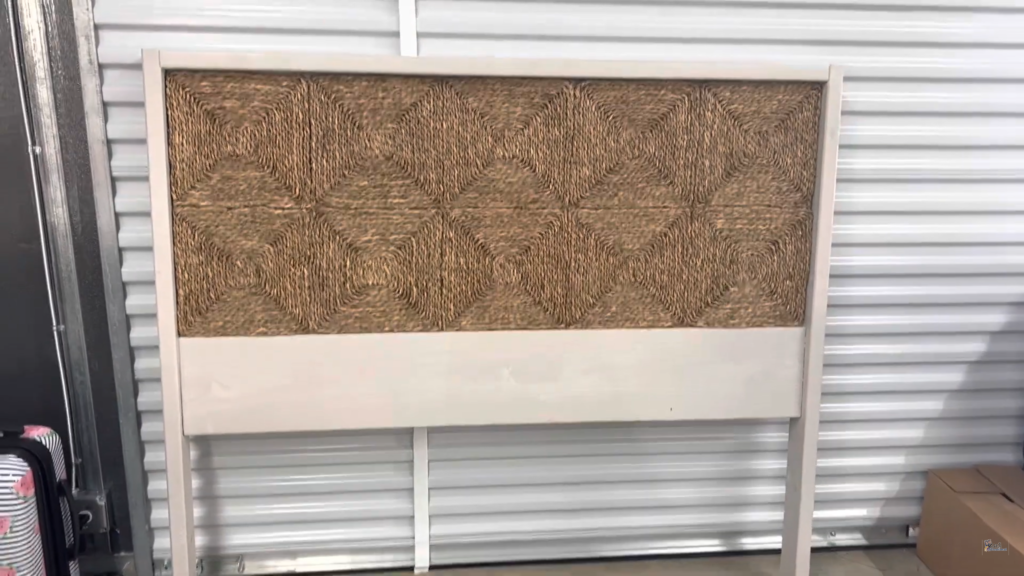
I found this long woven matt and just knew I needed to transform it into a headboard for our 70’s themed Mayflower camper renovation. Because 5 squares turned out to be 59.5″ in length, we went with a headboard for a queen-sized bed (60″ in length.) You really don’t need many materials for this project, and it took us just at 1 hour to complete start to finish. (Shhh…we won’t tell about it needing just one more coat of paint on the wood.) So, why not look around to see what you can upcycle into a new, custom piece of furniture?
Materials Needed
- 1 2x4x10
- 1 2x4x8
- 3 2x2x8
- 1 4×8 OSB
- 1 Super Awesome Legit Rug (or other piece of art/material you want to use)
- 1 2x10x8
- 1 Sheet of Plywood
- 3″ Wood Screws
- 2″ Wood Screws
- Wood Glue
- Your choice of paint or wood stain
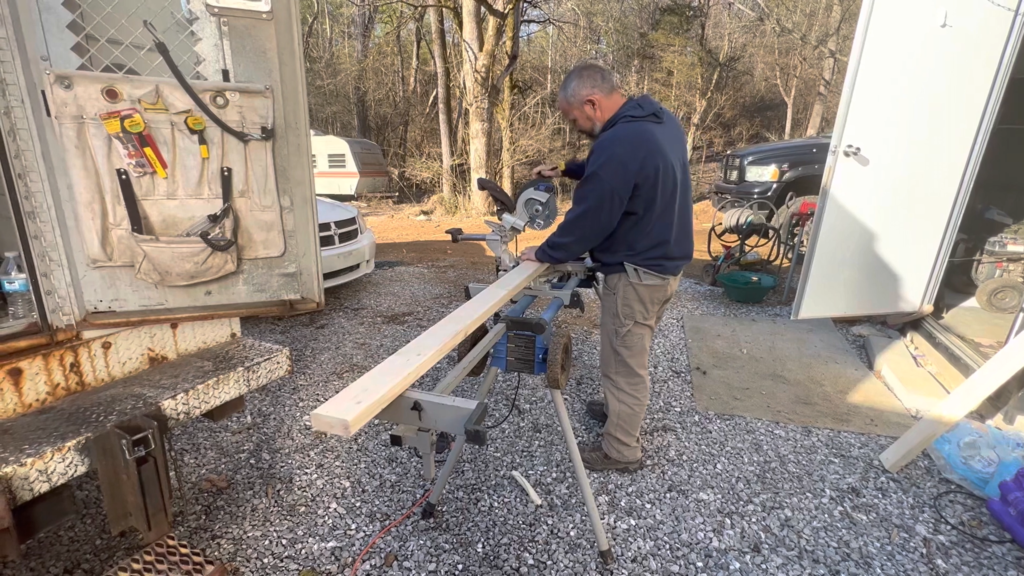
Of course, you’ll also need a table saw and saw horses plus a roller, brush, or rag to paint or stain your wood. I mean, I guess you could use a handsaw, but it might be a little tricky. Note: As a reminder, the measurements of boards always reveal the depth of the board the standard being 2×4 inches. The final measurement of the three is the width of the board. You’ll notice that there are three different widths used for this project.
Get Your Measurements
First of all, be sure to get your measurements completely figured out before doing any cutting or screwing together. As I said, our matt could easily be cut down to 59.5″ x 23.5″ so we knew how big of a frame we needed. Because we decided to have the matt go inside of the frame, we also had to take into consideration the depth of the wood that made up the frame. That meant that we needed to add two nailer boards inside of our frame to attach the plyboard to. These boards needed to be 59.5″ wide and 20″ apart from each other so that the plywood could be nailed on top and fit snuggly into the full frame we created. We also needed to decide on how tall to make the headboard. We went with 54″ tall legs. This is probably all a little confusing when written out like this, but hang with me! Take a look through the pictures below to see the order everything was done, and the measurements will begin to make sense. You can also watch the video at the bottom to get the full step-by-step run-through.
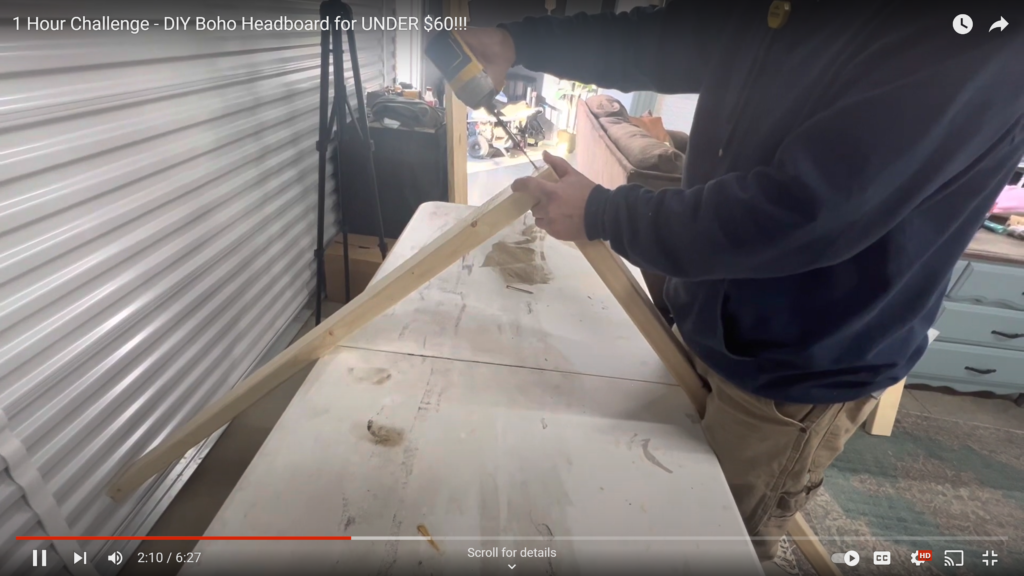
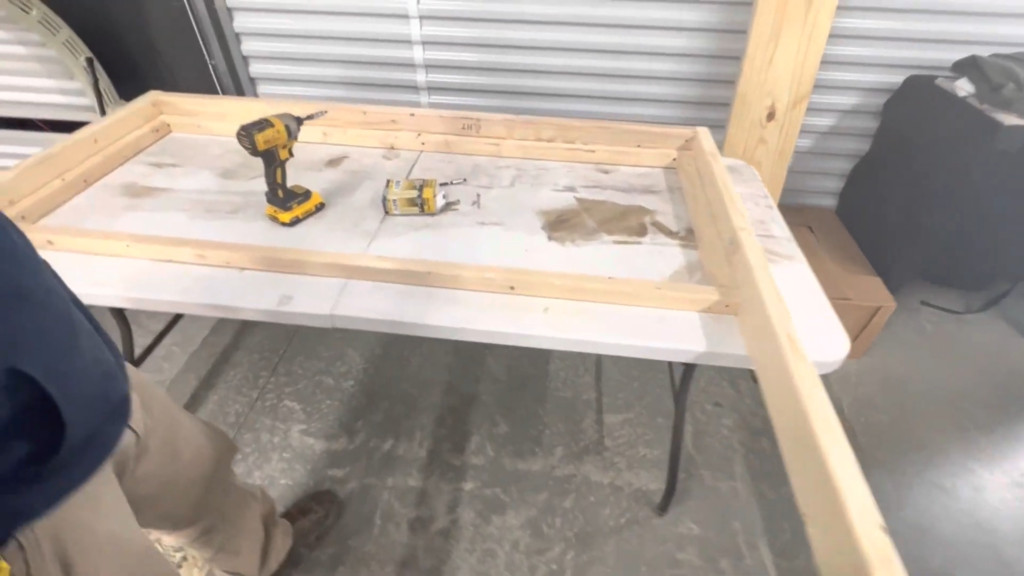
Step One
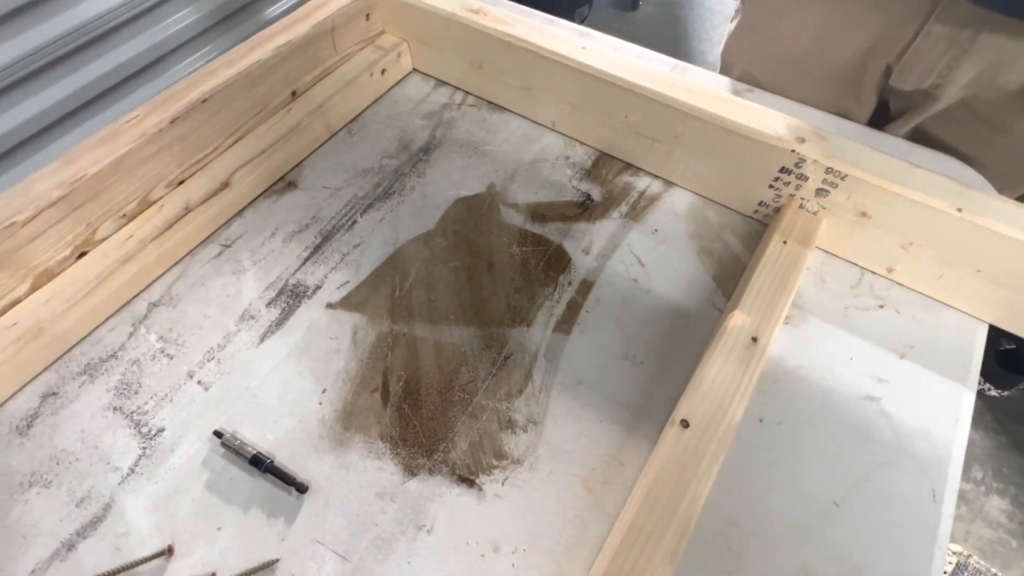
Cut out your main frame pieces and screw them together. Remember, the top of the frame needs to be 59.5″ in length, and the two legs need to be cut down to 54″ in length. NOTE: You’ll see in the third picture, Stanley screwed the legs on the OUTSIDE of the top piece of the frame. This means the two horizontal nailer boards will also need to be exactly 59.5″ in length.
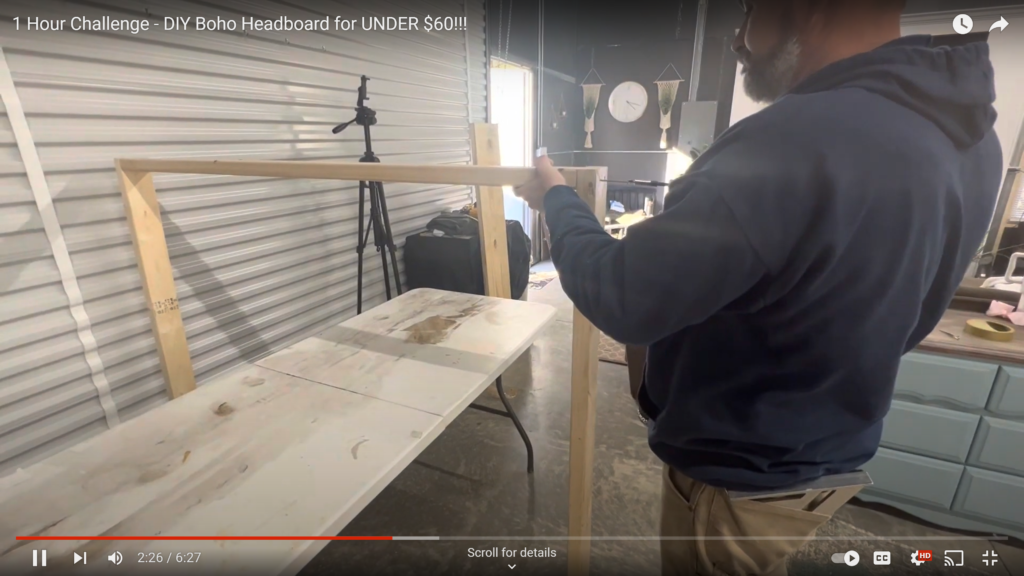
Step Two
Measure, cut, and attach your nailer boards. (What you will use to attach the plywood). You’ll need to cut 2 2×2 boards into 59.5″ lengths to go across, and 2 at 20″ in length to attach vertically on either side creating a nice rectangular base for your plywood. These all need to be screwed into the larger frame you just made.
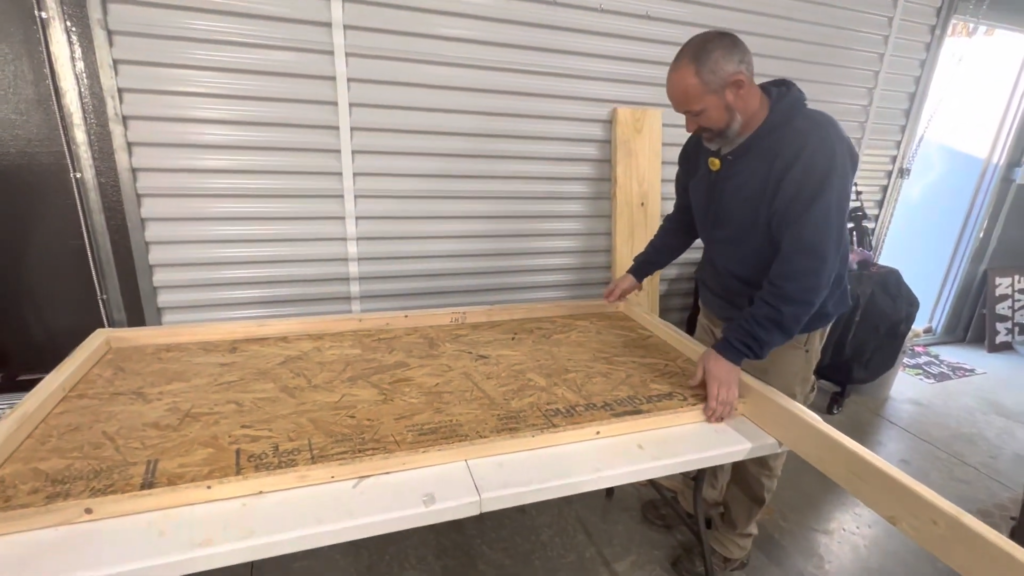
Step Three
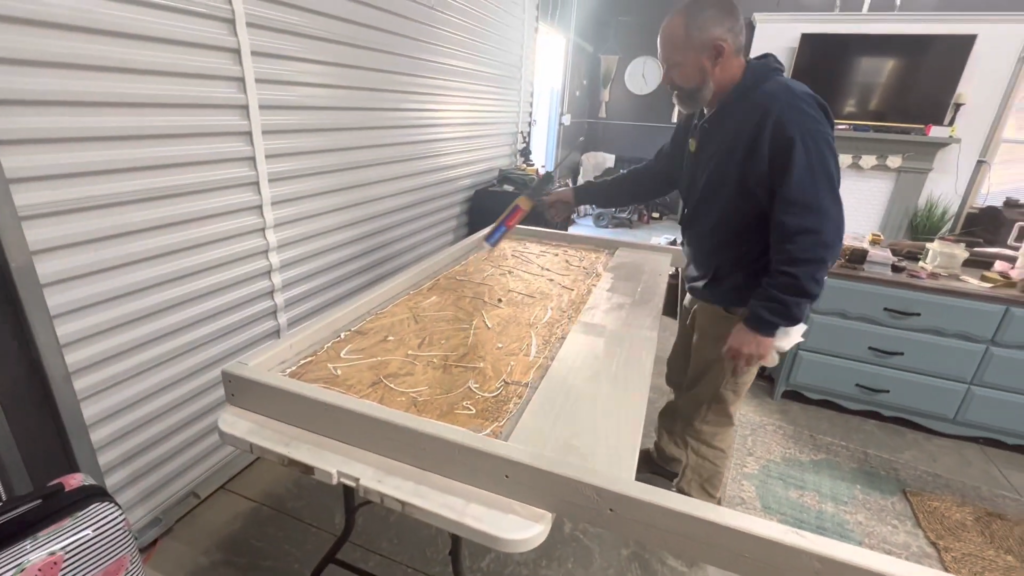
Cut and attach your plywood. The plywood needs to be the exact same size as the matt we are using because it is backing for the matt. You don’t want any gaps! So, the plywood needs to be cut down to 59.5″ x 23.5″ and nailed to the inner frame. I also don’t have it pictured here, but I added the 2x4x10 right at the base of the plyboard. Again, the length is 59.5″ to fit snuggly underneath. You will see this piece in the final image.
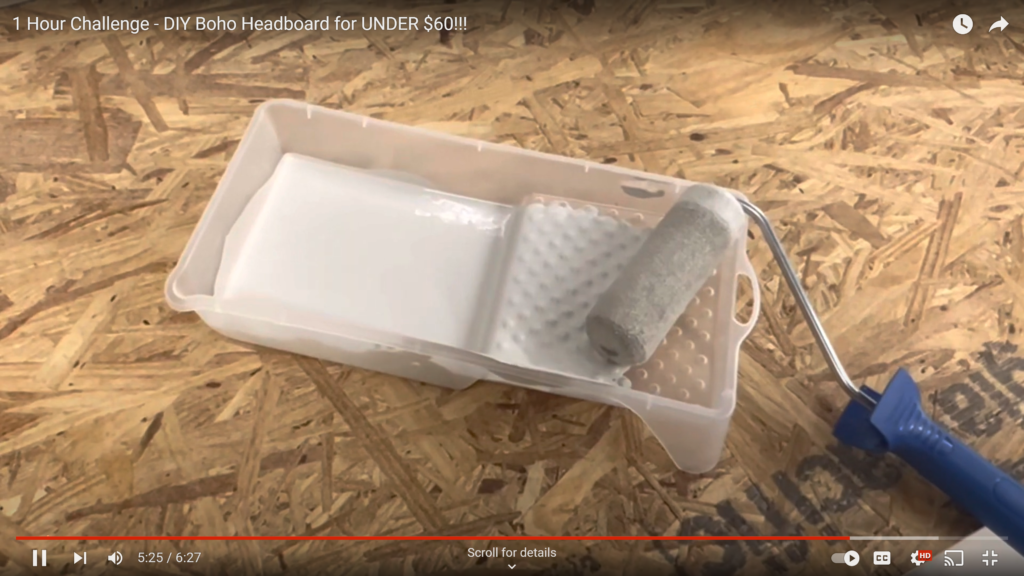
Step Four
Paint or stain your frame. Although we said you could do this in one hour, it is really best to do two full coats allowing the paint to dry in between. If using stain, you’ll want to allow it to fully dry before adding a clear coat to protect the finish.
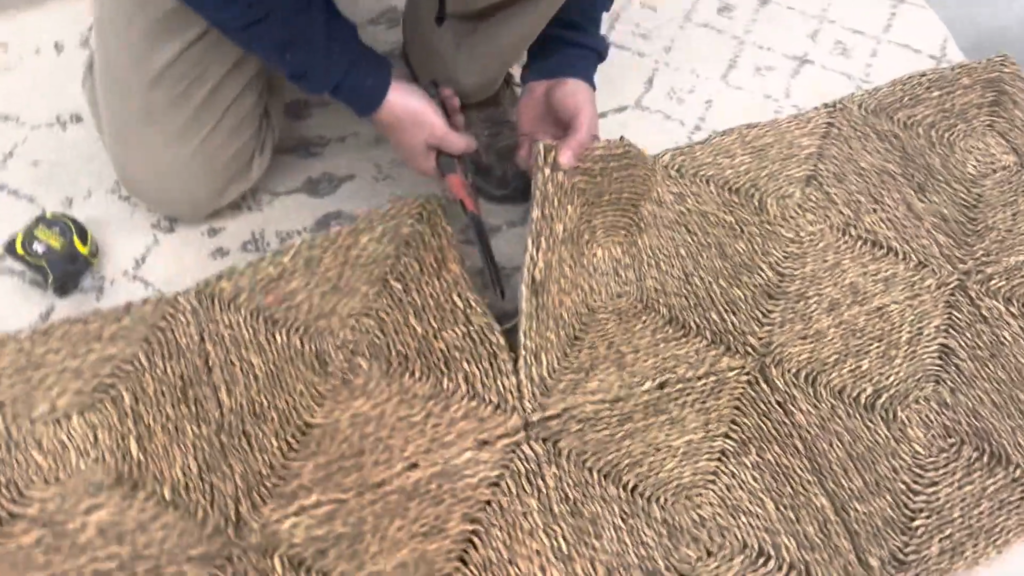
Step Five
Do your final cuts on the matt, Attach the matt to the plyboard with glue and staples, allow it to dry, and enjoy!

Watch the full build below, and don’t forget to like and subscribe to our channel!